May
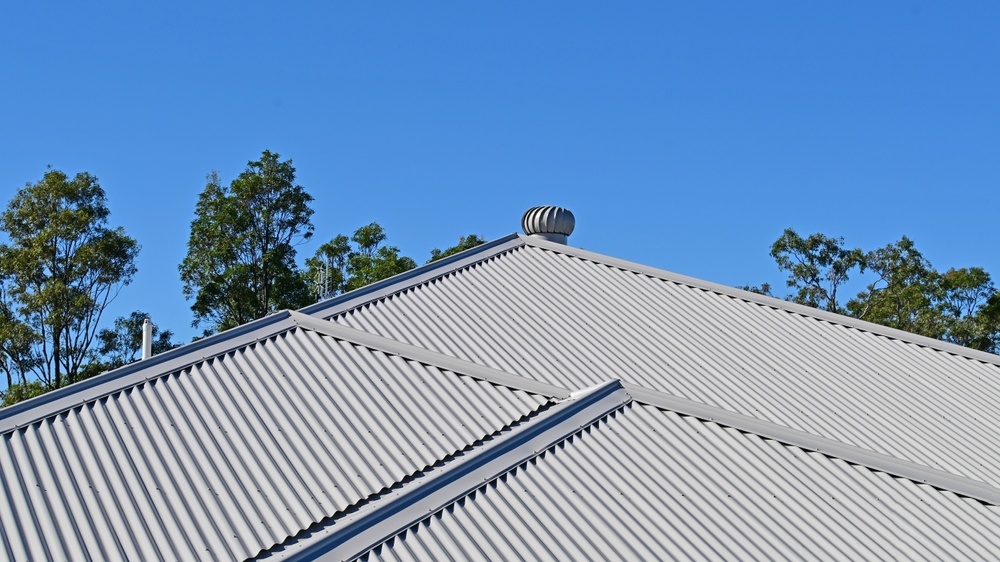
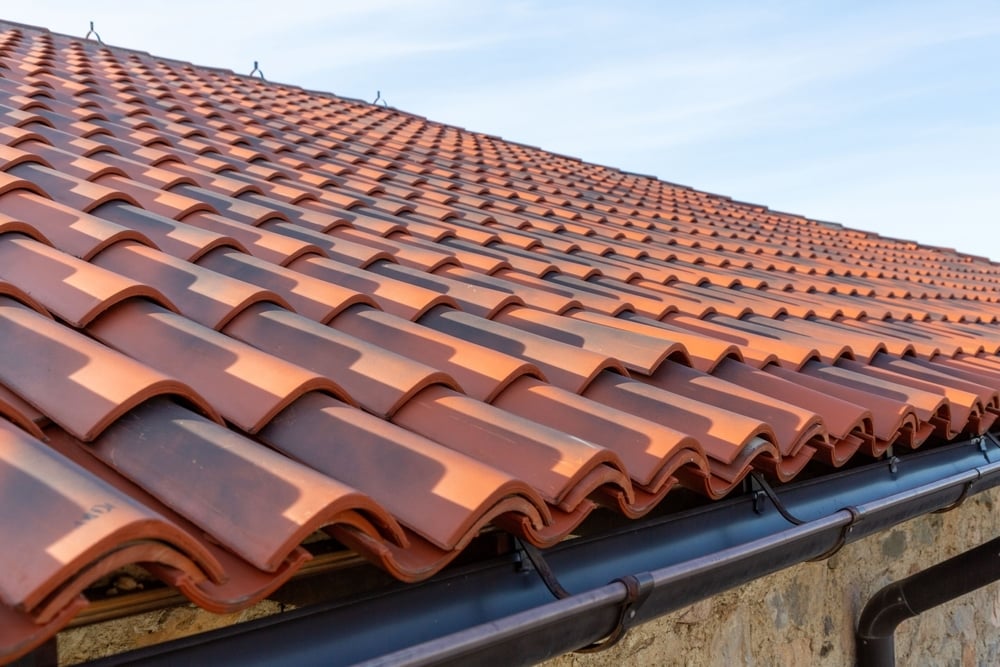
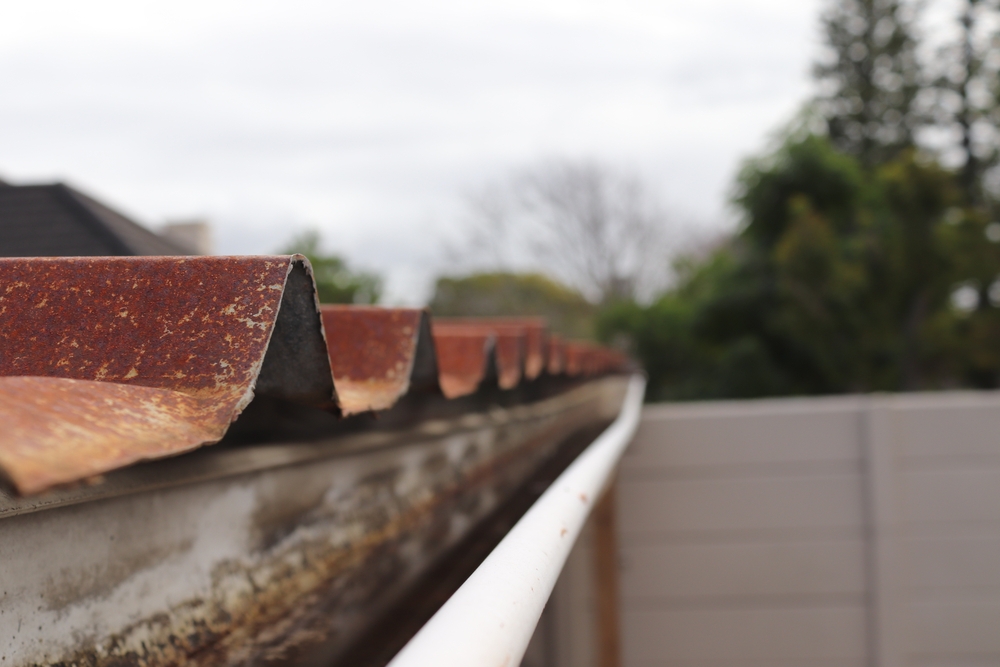
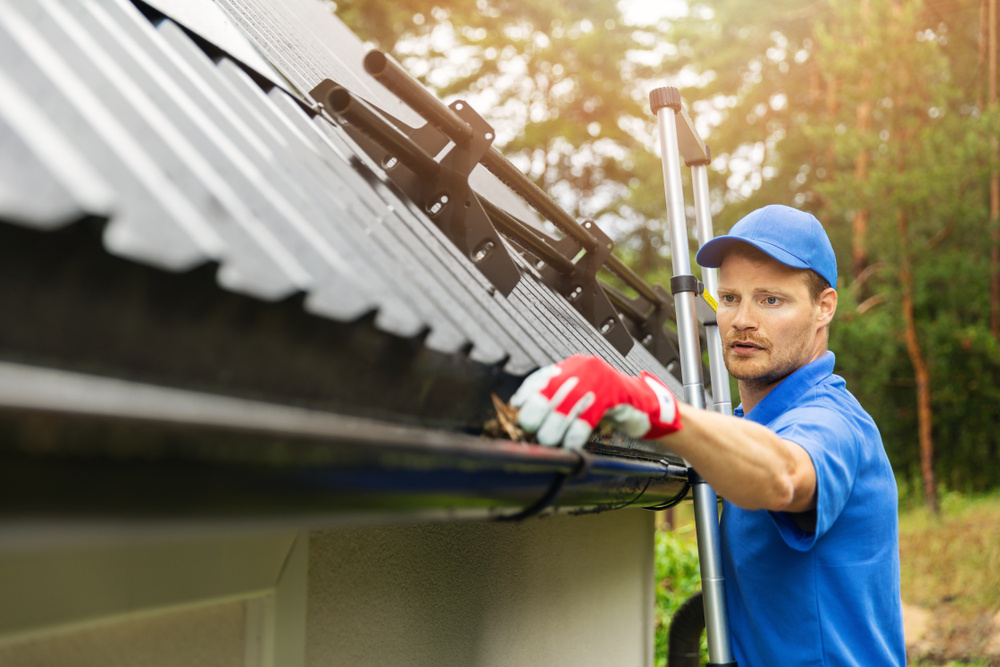
While tile roofing can be a good option for your home, it can become expensive to maintain as your roof ages. If you’re tired of paying for broken or missing tiles to be replaced on your roof, then it might be time to think of other roofing options. For example, you could convert your roof to another material like Colorbond that doesn’t require as much maintenance.
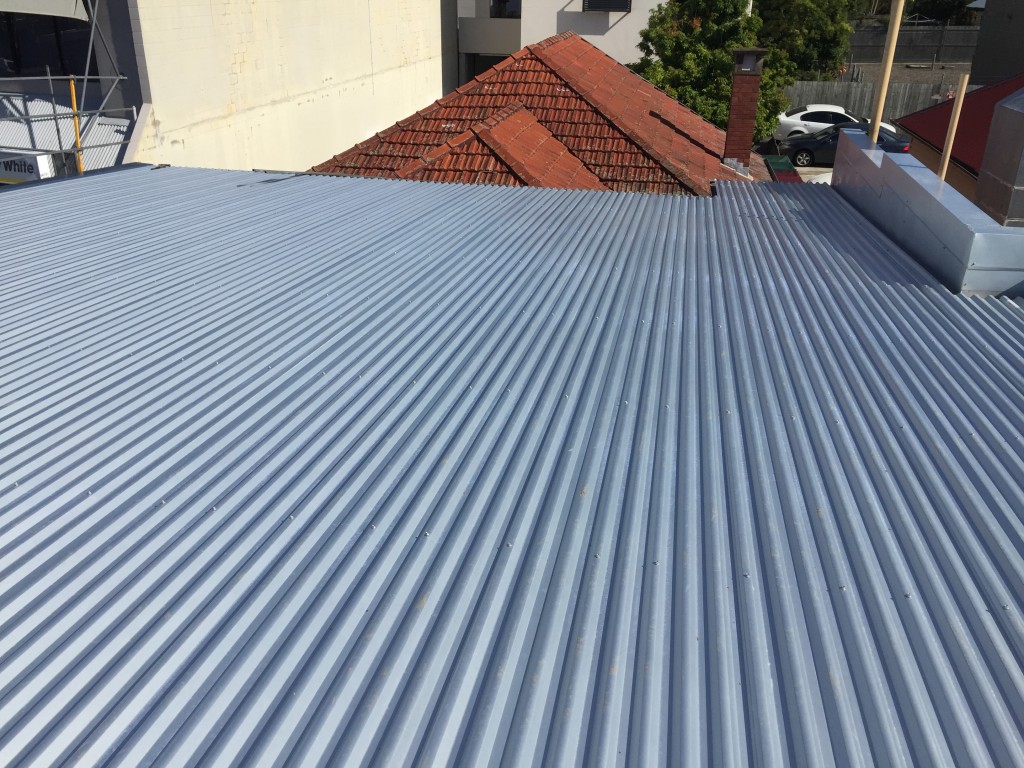
Tile to Colorbond roof conversions have become increasingly popular among homeowners. Colorbond roofing is more durable, energy-efficient, low-maintenance, and environmentally friendly than traditional tile roofs. In this blog post, we will take you through the costs involved, the benefits, and the step-by-step process of converting your tile roof to Colorbond.
Costs of Replacing Tile Roof with Colorbond
How much does it cost to replace tiles with Colorbond? The cost of replacing a tiled roof with Colorbond involves several key factors that work together to determine the final price. This includes:
1. Roof Size and Complexity
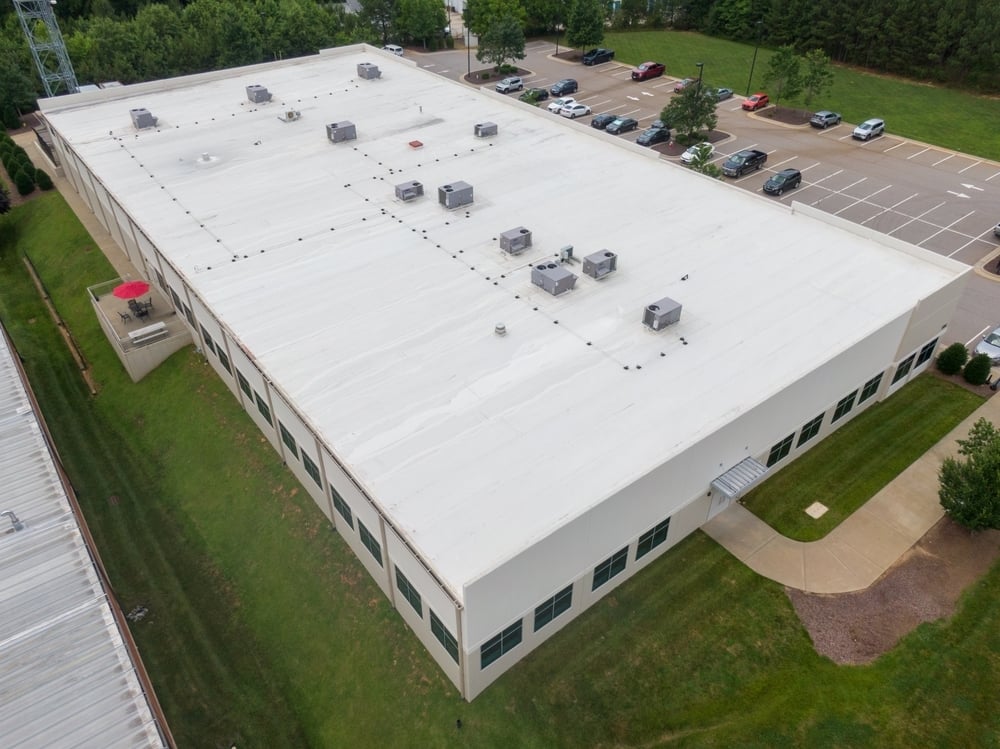
The roof's size and complexity serve as the primary replacement cost drivers, with a typical single-story home ranging from $18,000 to $35,000. This base cost includes the removal of existing tiles, which is a labour-intensive process requiring careful handling to avoid damage to the underlying structure. The disposal of old tiles also adds to the expense, as proper waste management is essential.
2. Roof Design
The specific design of your roof plays a crucial role in the final roof replacement cost. Roofs with multiple angles, valleys, or unique architectural features require more sophisticated installation techniques and additional materials. For example, a hip roof with multiple angles typically costs about 20-30% more than a simple gable roof due to the extra labour and materials needed for proper sealing at junction points.
3. Material Costs
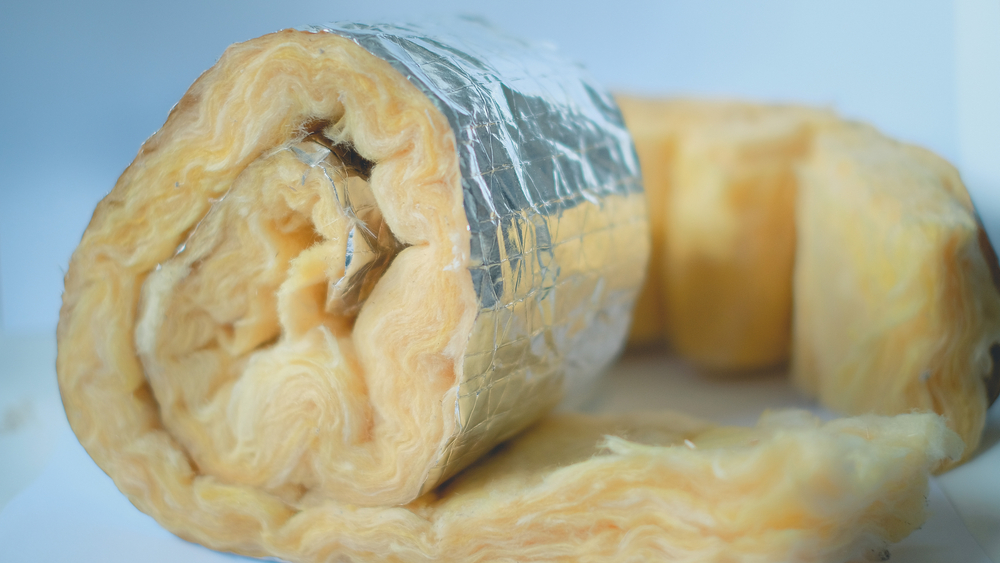
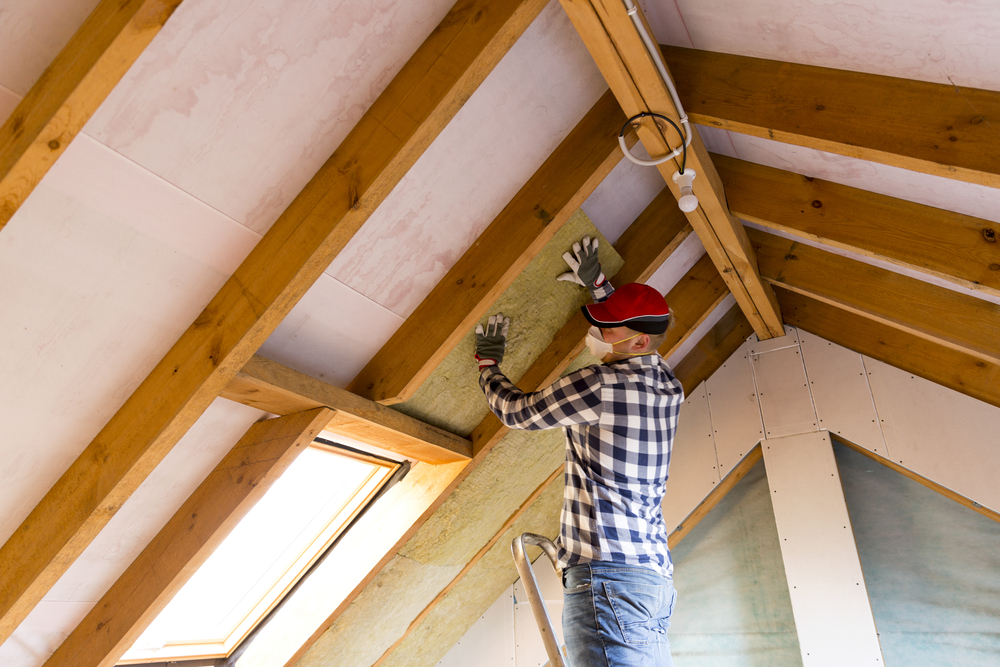
Material costs for Colorbond roofing vary depending on the selected profile and colour. Standard colours and profiles start from $35 per square metre, while premium options can reach $55 per square metre. The installation process often requires additional materials such as insulation, sarking, and new flashings, which can add $3,000-5,000 to the project.
4. Labour Costs
Labour costs typically represent about 40-50% of the total project cost. Professional installation is crucial as it directly affects the roof's performance and warranty validity. The installation team needs to assess and potentially reinforce the existing roof structure, as Colorbond sheets have different weight distributions compared to tiles.

Why Convert your Tile Roof to Colorbond?
Switching from tiles to Colorbond roofing offers numerous advantages that extend beyond the initial installation. These can include:
Reduced Weight
The most immediate benefit is the significant weight reduction on your home's structure. Colorbond weighs approximately one-seventh of concrete tiles, which can reduce stress on your home's foundation and supporting walls. This weight difference often leads to improved structural integrity over time.
Improved Durability
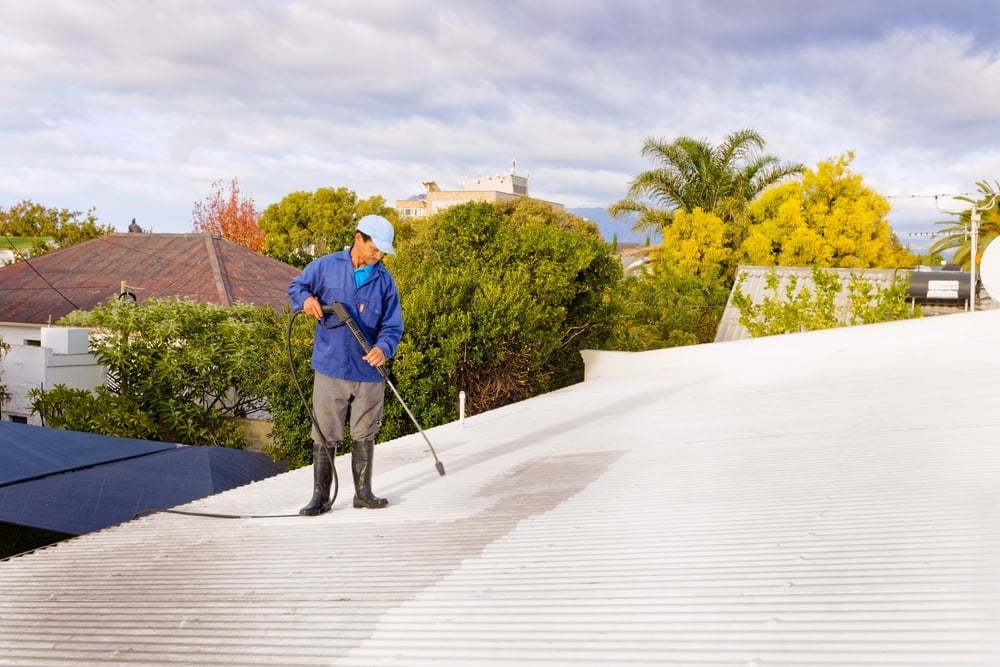
The durability of Colorbond provides exceptional long-term value. Unlike tiles that can crack, shift, or cause moss growth, Colorbond maintains its integrity for decades with minimal maintenance. The steel sheets are treated with multiple protective layers, including zinc coating and a baked-on paint finish, making them highly resistant to corrosion, even in coastal areas. This durability translates to lower maintenance costs over the roof's lifetime.
Improved Energy Efficiency
Energy efficiency is another substantial benefit. Colorbond's thermal properties, especially when combined with proper insulation and sarking, can significantly reduce your home's heating and cooling costs. The reflective surface helps manage heat transfer more effectively than traditional tiles, potentially reducing energy bills by 10-20% annually. During summer, the continuous surface reflects more solar radiation, while in winter, proper insulation helps retain indoor heat more effectively.
Improved Water Management
Water management improves dramatically with Colorbond roofing. The seamless nature of metal sheets eliminates many of the weak points common in tiled roofs where water can penetrate. This reduces the risk of leaks and water damage, particularly during heavy rain events. The smooth surface also prevents the accumulation of debris and growth of moss or lichen, which often plague tiled roofs and can lead to water retention and deterioration.
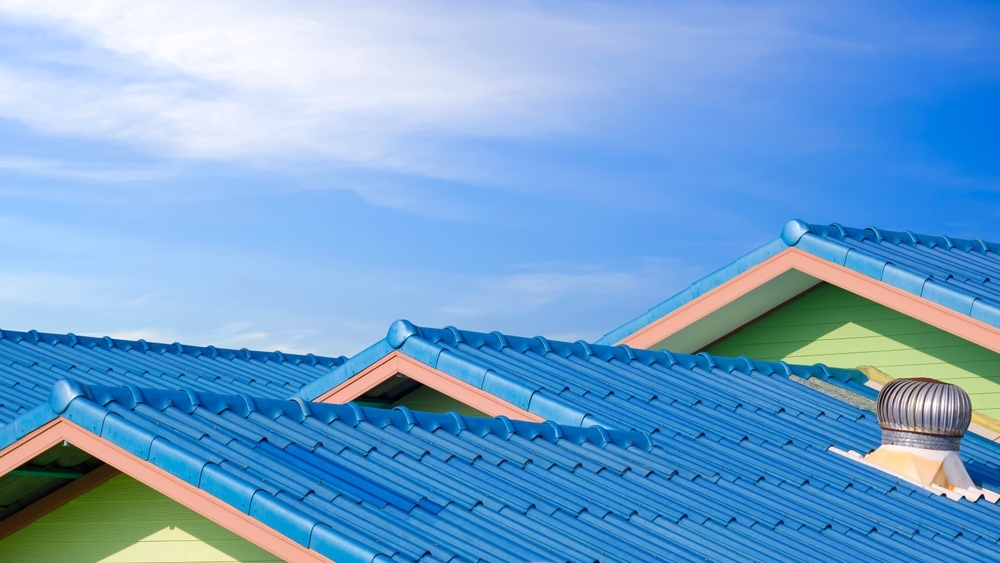
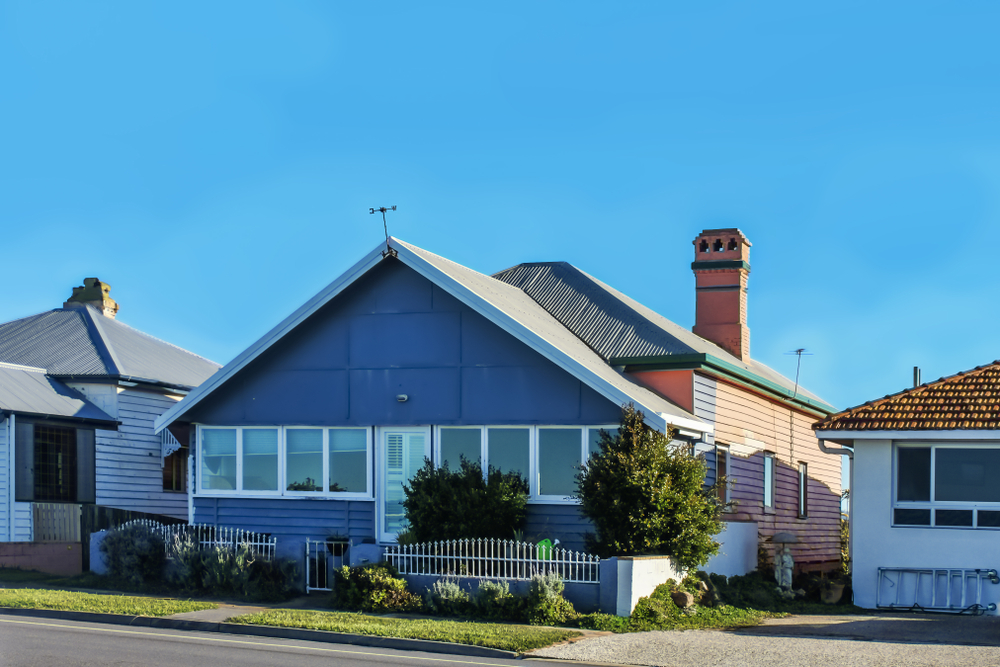
Enhanced Aesthetic Appeal
The aesthetic appeal of modern Colorbond roofing can significantly enhance your home's appearance and potentially increase its market value. The wide range of contemporary colours and profiles allows for customisation to match your home's style. The clean, streamlined appearance often gives homes a more modern look, which can be particularly valuable if you're considering selling in the future.

What to Expect When Replacing a Tile Roof with Colorbond
1. Inspection
The first step in the process of a tile to Colorbond roof conversion is to have your current roof inspected by a professional roofing contractor. Since tile roofs are considerably heavier than other roofing options, having your roof inspected will help determine the overall condition of your roof and whether it is suitable for a Colorbond conversion. After your inspection, you will receive a quote detailing how much it will cost to replace your tiled roof with Colorbond.
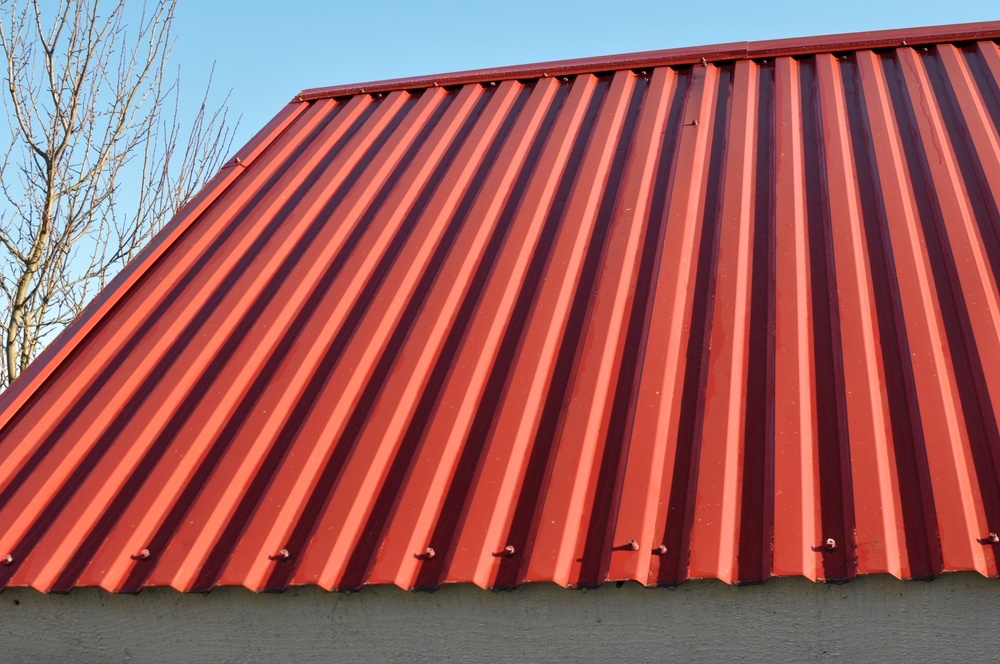
2. Color Selection
Choosing a Colorbond roof is a great way to spruce up your home’s curb-side appeal as they have a wide selection of colour choices to meet every taste and style. Be sure to check out our Roof Colour Chart to get a full understanding of what options would suit your home best.
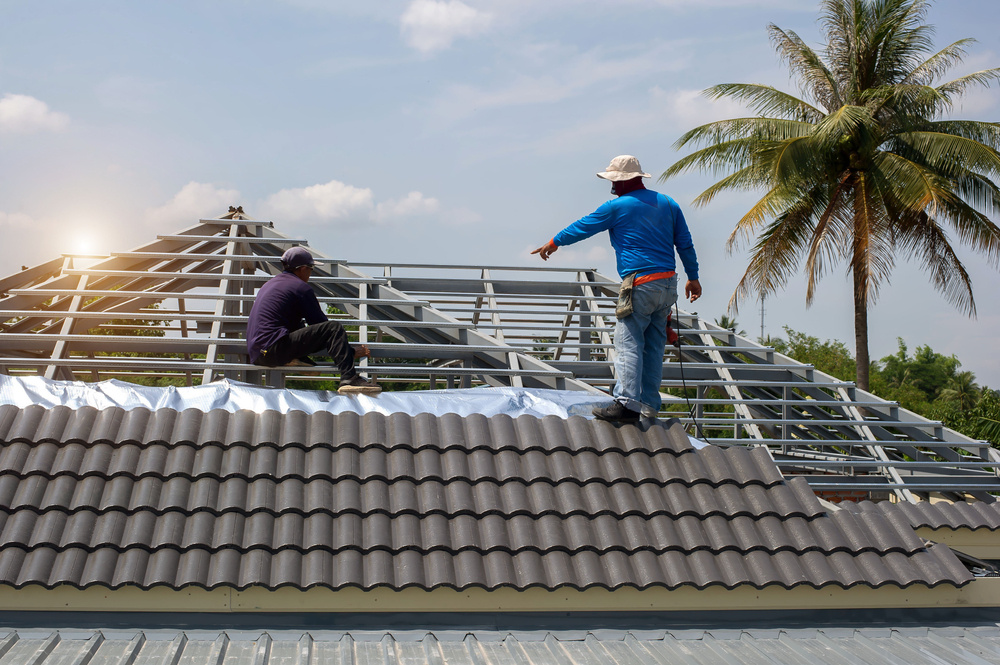
3. Tile Removal
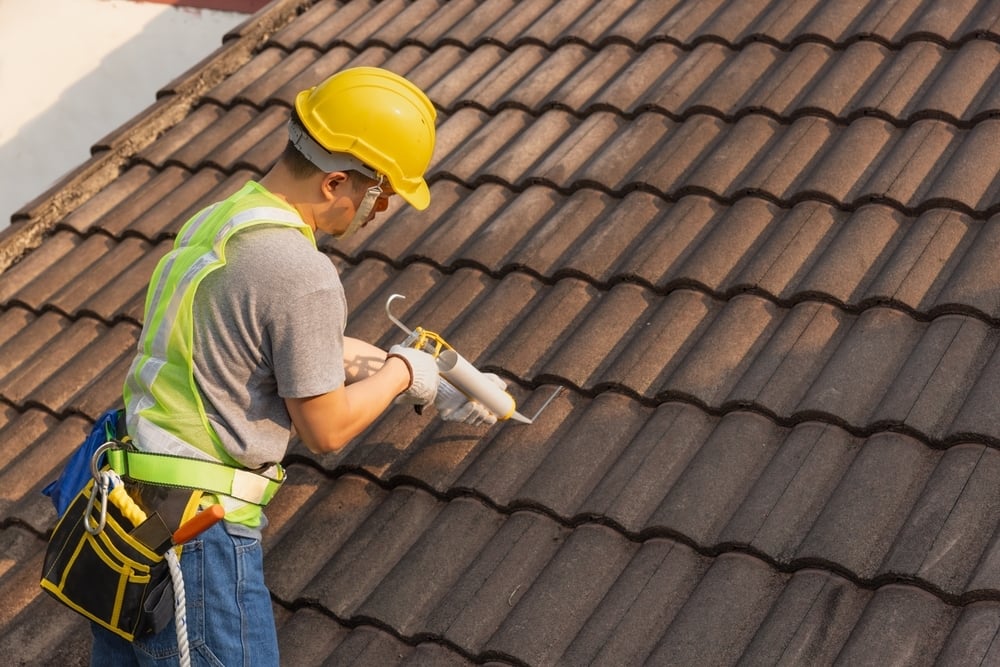
Once the inspection is complete and the decision has been made to proceed with a Colorbond conversion, the next step is to remove the existing tiles. The tiles will be carefully removed, and any underlayment or battens that require replacement will be identified and addressed at this stage.
4. Structural Preparation
After tile removal, the roof structure will be prepared for the installation of Colorbond roofing. This preparation may include reinforcing the roof structure, replacing damaged or rotting timber, and installing new battens to support the Colorbond sheets.
5. Installation of Colorbond Roofing
The installation of Colorbond roofing sheets is a critical part of the conversion process. Your roofing contractor will take precise measurements of your roof to ensure that the Colorbond sheets fit perfectly. The sheets are then cut to size, and the installation process begins. Each sheet is secured to the roof structure with screws, and special care is taken to ensure that they are aligned correctly and there are no gaps between them.
6. Flashing and Capping Installation
Once the Colorbond sheets are installed, the next step is to install flashing and capping. These are essential components that help to prevent water from penetrating the roof and causing damage. Flashing is installed around areas such as chimneys, vents, and skylights, while capping is installed along the ridge of the roof.
7. Finishing Touches
The final step in the tile to Colorbond roof conversion process is the finishing touches. This includes painting the Colorbond sheets in the colour of your choice, cleaning up the worksite, and conducting a final inspection to ensure that everything is in order.
Need a New Roof?
Say goodbye to constantly feeling like you're falling behind on your roof tile maintenance and say hello to your new, hassle-free metal roof with Roo Roofing.
Our team of experts have extensive knowledge on Australian roofing materials. With three generations of experience, we can give you advice on tile to Colorbond costs, and help you decide which option is best for your home. We’re your go-to Brisbane Roofers for roof repairs, restoration, replacement, and more.
Get in touch today for a free assessment and quote.