Aug
Maintaining your roof is crucial for protecting your home or commercial property from the elements. One of the key components that helps to ensure your roof’s durability is roof flashing.
In this guide, we’ll explore roof flashing, including its purpose, materials, types, and installation techniques. This will give you a comprehensive understanding of roof flashing and why it plays a vital role in safeguarding your property.
What is Roof Flashing
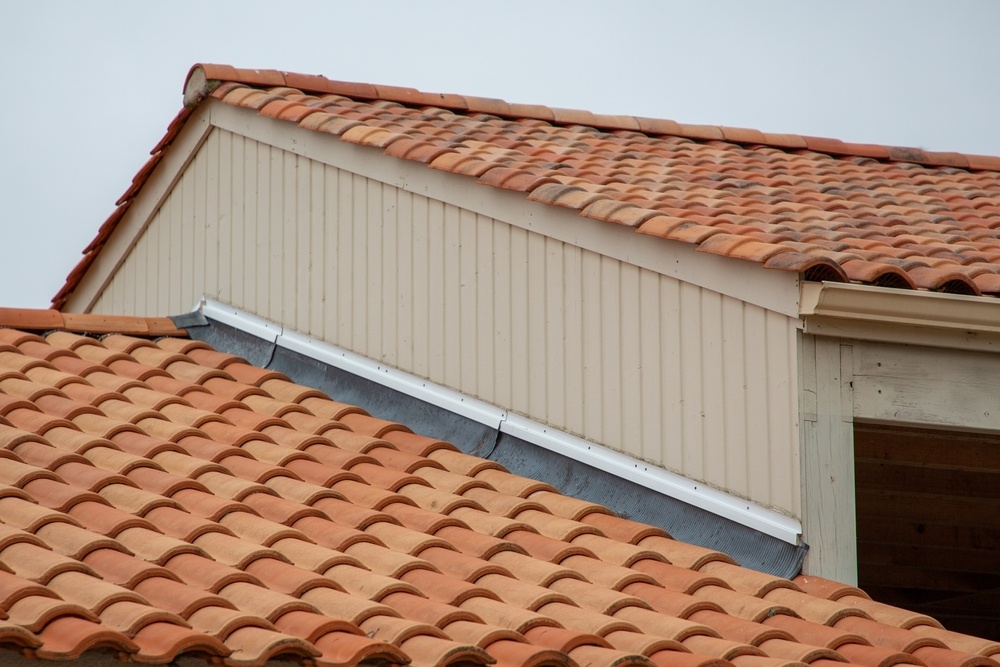
Roof flashing is a thin material, typically metal, installed at various points on a roof to direct water away from critical areas. These areas are usually where the roof meets a vertical surface, like a wall, or where two different roof surfaces meet. The primary purpose of roof flashing is to prevent water from seeping into the joints or seams, which are the most vulnerable parts of a roof. Flashing acts as a barrier to guide water to the gutters or away from areas where it could cause damage.
Flashing is often installed around features like chimneys, skylights, vents, and valleys, where the roof surface changes direction or material. Without proper flashing, these areas are prone to leaks, which can lead to significant damage to the roof structure and the interior of the building.
Why do we Need Flashing?
The primary reason for installing roof flashing is to prevent water damage. Roofs are constantly exposed to rain, snow, wind, and other environmental factors that can lead to water infiltration. Water is one of the most damaging elements to a building’s structure.
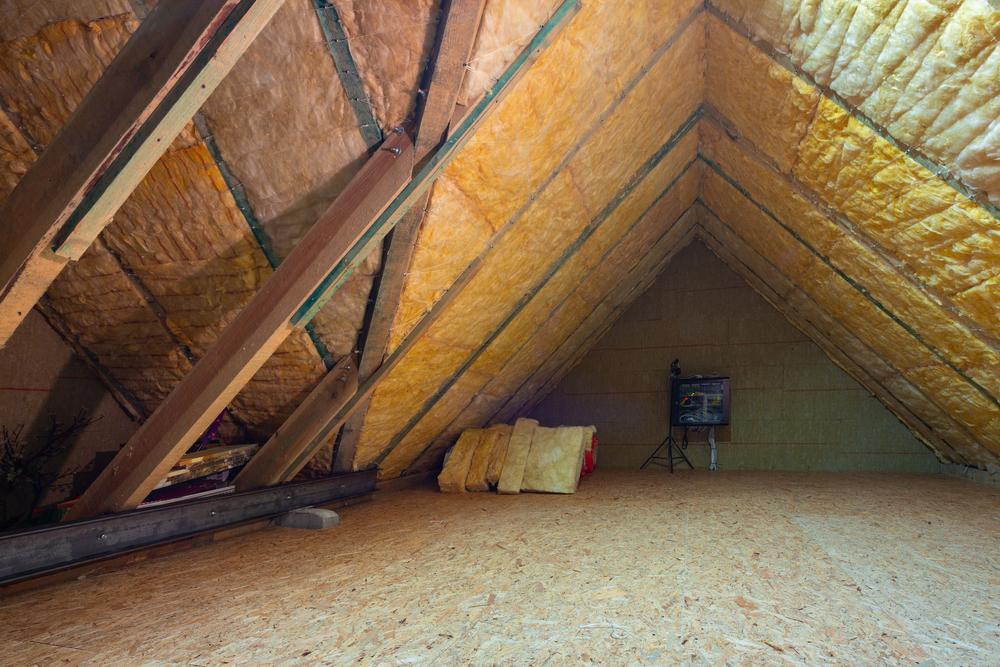
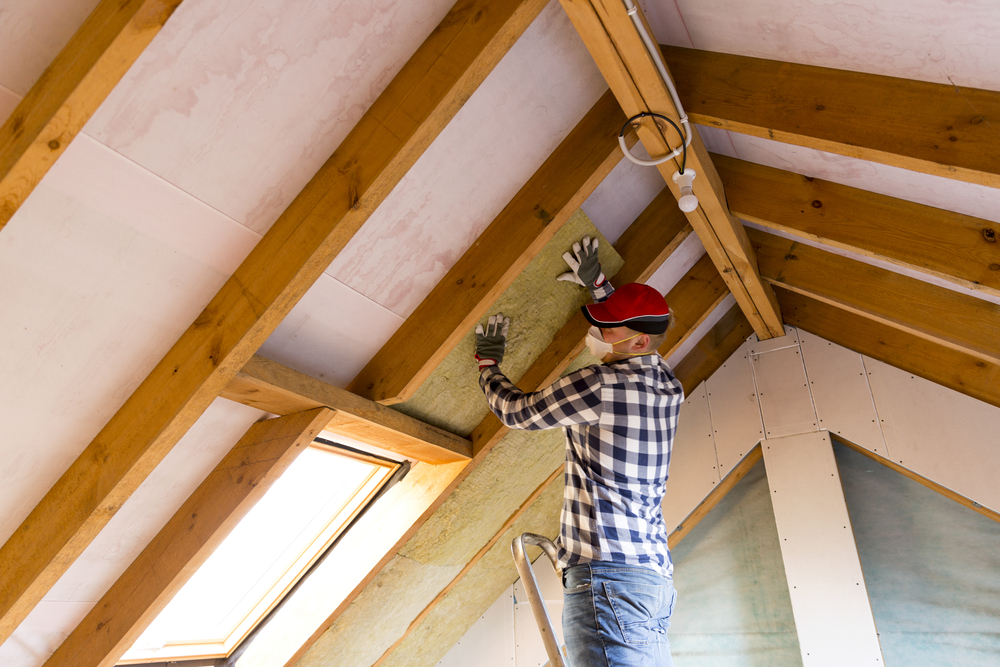
Even a small leak can lead to extensive damage. For example, moisture can ruin insulation, reducing its effectiveness and leading to higher energy costs. Leaks can cause stains, damage to drywall, peeling paint, and even electrical issues if water reaches wiring.
Prolonged exposure to moisture can cause wooden components of the roof and attic to rot, compromising the structural integrity of the building. Water that seeps into the building can also create a conducive environment for mould and mildew, which can lead to health issues for the occupants.
Through channelling water away from vulnerable areas, roof flashing plays a crucial role in preventing these issues. It is particularly important in regions with heavy rainfall or storms, where the potential for water damage is high.
What is Roof Flashing Made Of?
Roof flashing is available in various materials, each with its own advantages and disadvantages. The material that’s best for your home or building depends on factors such as the type of roof, the climate where you live, and your budget. The most common materials used for roof flashing include:
1. Aluminium
Aluminium is lightweight, easy to work with, and resistant to rust. It’s also relatively inexpensive, making it a popular choice for residential roofs. However, aluminium is not as durable as some other metals and can be prone to damage in areas with extreme weather conditions.
2. Copper
Copper is highly durable and resistant to corrosion. It also adds a distinctive aesthetic appeal, especially on older or more traditional homes. However, copper is one of the more expensive flashing materials, and it can develop a patina over time, changing its appearance.
3. Steel
Steel is incredibly durable and strong, making it ideal for areas with harsh weather. Galvanised steel is coated to prevent rust, while stainless steel offers superior corrosion resistance. Steel can be heavier and more challenging to work with than aluminium or copper, and it tends to be more expensive.
4. Lead
Lead flashing is highly malleable, making it easy to shape and install. It’s also very durable and resistant to the elements. However, lead is expensive and has environmental concerns due to its toxicity. Its use is declining in favour of safer alternatives.
5. Plastic or Rubber
These materials are flexible, lightweight, and resistant to corrosion. They are often used in combination with other materials, especially for flashing around vent pipes or skylights. Plastic and rubber are not as durable as metal and can degrade over time, especially when exposed to UV rays.
Types of Roof Flashing
Roof flashing comes in various types, each designed for specific applications. Understanding these types helps in choosing the right flashing for different parts of the roof. Here are the main types of roof flashing.
1. Step Flashing
Step flashing is used where the roof meets a vertical surface, such as walls or chimneys. It consists of a series of small pieces of flashing that are layered to direct water away from the wall. Step flashing is highly effective at preventing leaks where the roof and wall meet.
2. Continuous Flashing
Continuous flashing, also known as apron flashing, is a long, continuous piece of metal used where the roof meets a vertical surface. It is typically installed along the lower edge of a chimney or along a wall. It provides continuous protection against water infiltration but requires proper expansion joints to allow for movement of the roof.
3. Counter Flashing
Counter flashing is used in conjunction with other types of flashing, such as step flashing. It is installed on the vertical surface to cover the top of the base flashing. It adds an additional layer of protection, helping to direct water away from critical areas.
4. Valley Flashing
Valley flashing is installed in the valleys where two roof planes meet. It directs water down the valley and away from the roof. It is essential for preventing water from pooling in the valleys, which are vulnerable to leaks.
5. Drip Edge Flashing
Drip edge flashing is installed along the edges of the roof, particularly the eaves and rakes. It helps guide water off the roof and into the gutters. It protects the roof deck from water damage and prevents water from seeping under the shingles.
6. Vent Pipe Flashing
Vent pipe flashing is used around roof penetrations, such as vent pipes. It typically consists of a metal base and a flexible collar that fits tightly around the pipe. It seals the area around the pipe, preventing water from leaking into the roof.
Process for Roof Flashing Installation
Installing roof flashing correctly is crucial to ensuring its effectiveness. Although the installation process can vary depending on the type of flashing and the specific application, there is a general process that your roofing company will follow. This is outlined below.
1. Preparation
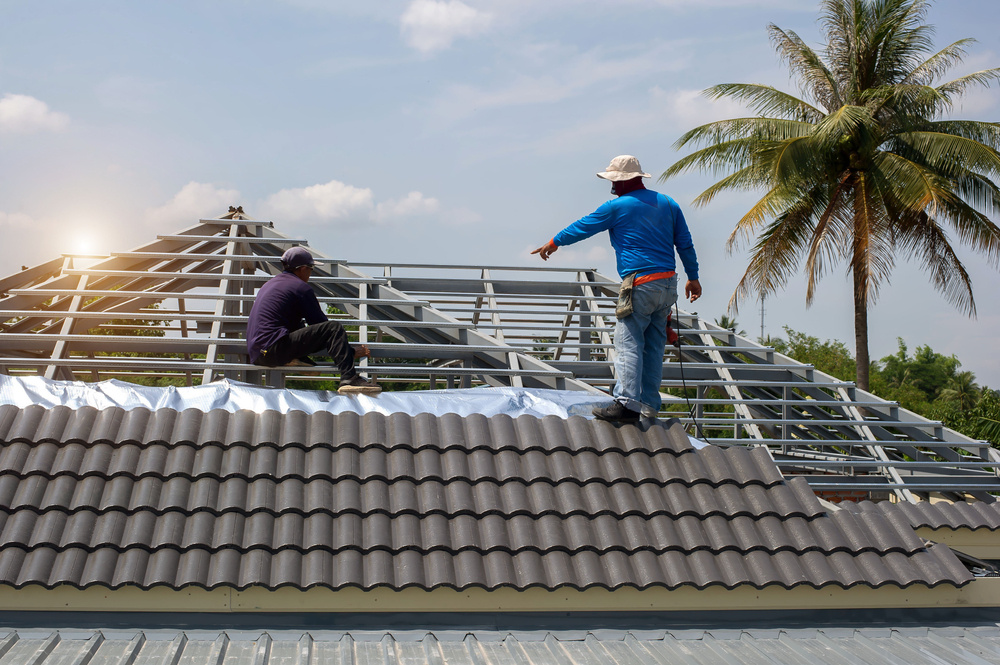
Before any flashing is installed, the roofing team will gather all necessary materials and tools. They’ll also ensure that safety measures are in place, using ladders, harnesses, and other equipment to work safely on your roof.
2. Installing Step Flashing
For areas where your roof meets a vertical surface, like a chimney or wall, the team will use step flashing. They’ll install it piece by piece, overlapping each one to create a watertight barrier. As they lay shingles, they’ll position each piece of step flashing in a way that it’s covered by the next row of shingles, ensuring seamless protection.
3. Installing Valley Flashing
In valleys where two roof planes meet, the roofing team will lay a strip of valley flashing. This metal piece runs the length of the valley and directs water down and away from these vulnerable areas. The flashing will be secured with nails, and the edges will be carefully covered with underlayment and shingles to prevent any water from sneaking underneath.
4. Installing Drip Edge Flashing
Around the edges of your roof, especially along the eaves and rakes, the team will install drip edge flashing. This helps guide water off the roof and into the gutters. The drip edge is installed before the underlayment and shingles, and the corners are overlapped to ensure full coverage.
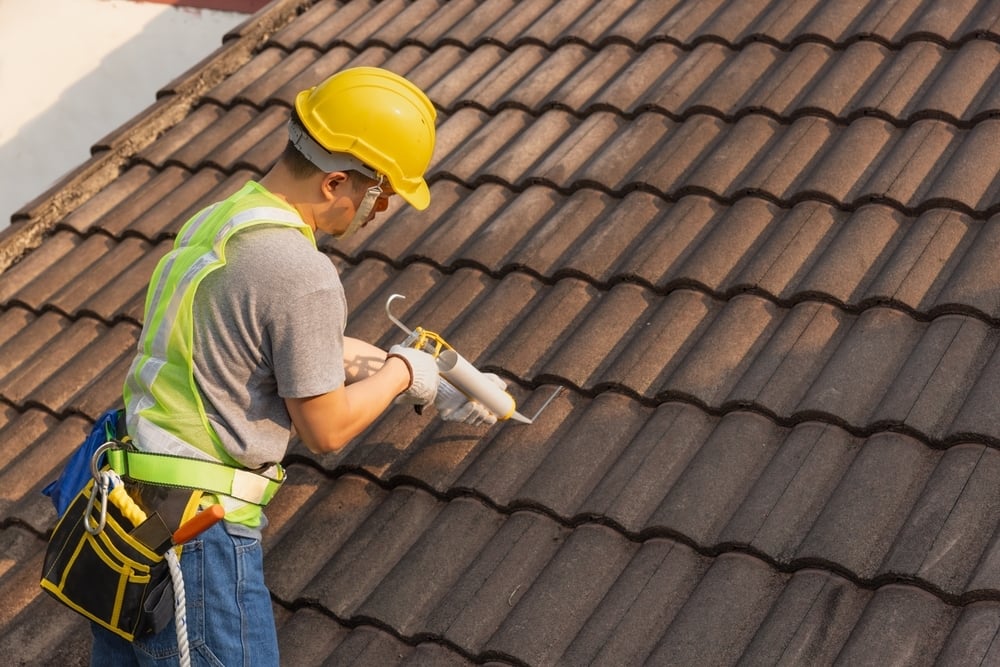
5. Sealing and Finishing
Once all the flashing is in place, the team will apply a sealant to ensure a watertight seal around the edges and nails. They’ll inspect their work carefully, checking for any gaps or areas that might allow water to penetrate. This final step ensures that your roof is fully protected and that the flashing will perform its job effectively.
After installation, your roofing team will clean up the work area, removing any debris, old materials, or leftover supplies. They’ll leave your roof in pristine condition, ready to withstand the elements.
Final Thoughts
Roof flashing is a critical component of a well-functioning roof, providing essential protection against water damage. Whether you’re looking for roof flashing for your home or commercial property, trust us to deliver a top quality roofing solution that will last for years to come.